We decide we want the light mounts about 12" above the surface of the water. That should allow at least 8" between the MH bulbs and the water surface which should be fine for heat and maximizing the spread of light (while still being close enough to push some light toward the bottom of the tank).
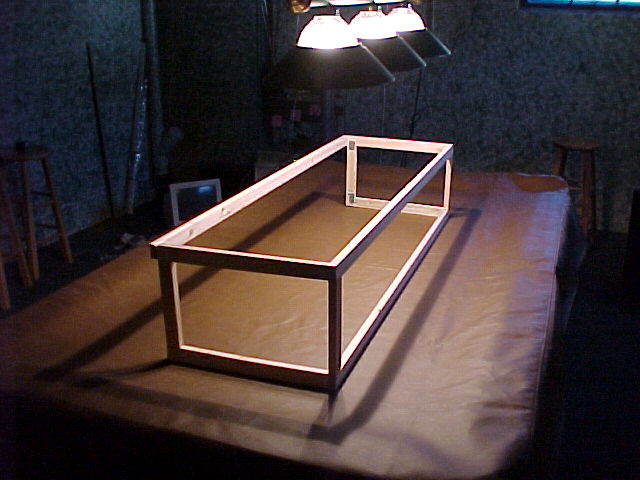
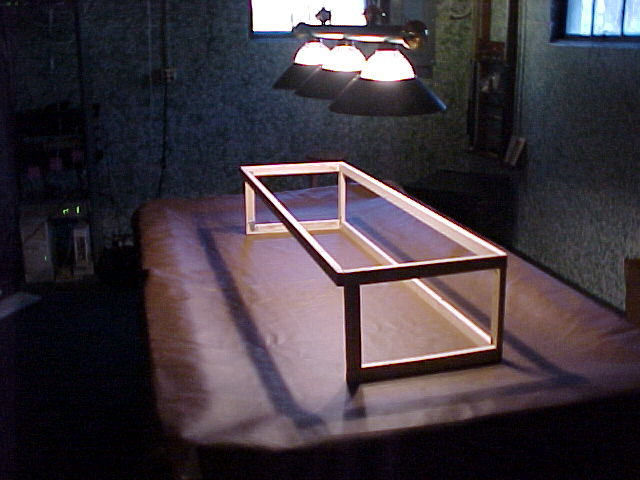
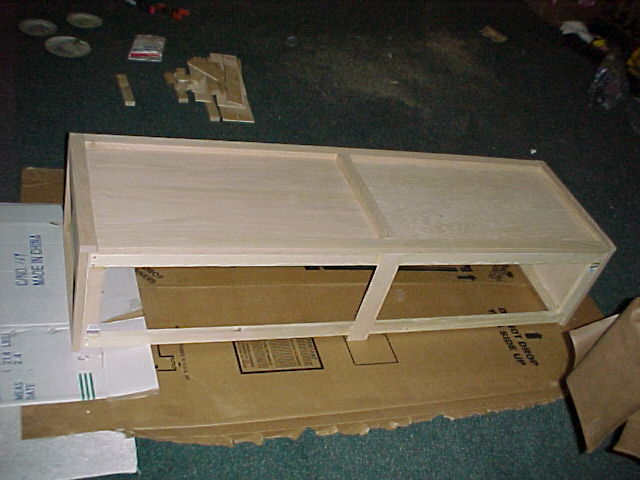
The first step is to measure the top of the tank. Since the framing of the canopy will rest directly on the lip of the tank this is a crucial measurement. In our case it turns out to be 60.5" x 18.5". All good. Since the back of the canopy will be open (for wiring, overflows, etc...) I don't put a bottom board on the back (though in retrospect having a board of the right size fastened in that spot during the construction process would certainly have made some of the fastening easier since the frame would have been more stable. Oh well). The framing is 1x2 pine boards, screwed together where possible. The framing ends up looking like this (click an image to enlarge it):
|
|
At this point its a good idea to set the framing on the tank and make sure it actually sits correctly. Its easy to make corrections at this point and if its not right now, the rest of the project will be screwed up as well.
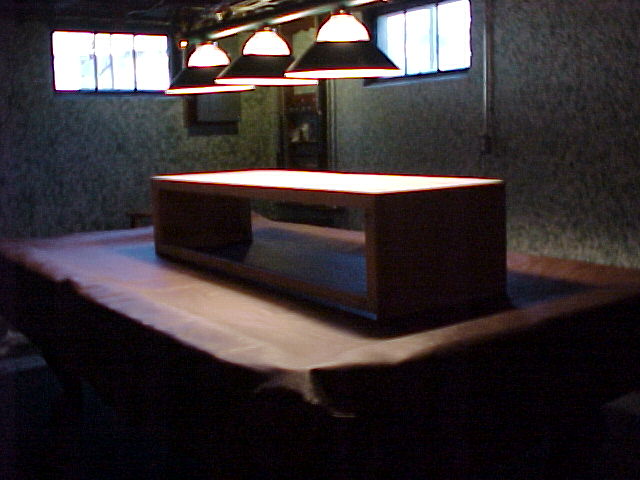
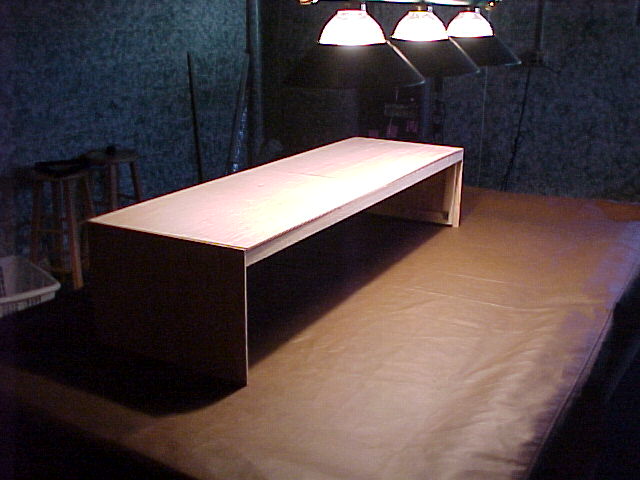
The next step is to put some panels over the top and side. I decide to go with oak panels since those will be able to better match the stand. Since I can't buy a single 60" piece of 1/4" oak panel at my local home center, I go with 2 panels at the top (I'll cover the seam with a trim piece). So, I put on 4 panels (2 on top, 1 on each side). The top panels go flush to the framing on the front and side. The side panels go flush to the framing on the front and flush to the top panels on the top (So its easier if you put the top panels on first... however keep all of this in mind when measuring and cutting panels). The side panels extend 1/2" below the bottom framing. This will provide guides for the tank so that the cannopy cannot just fall off.
 |
 |
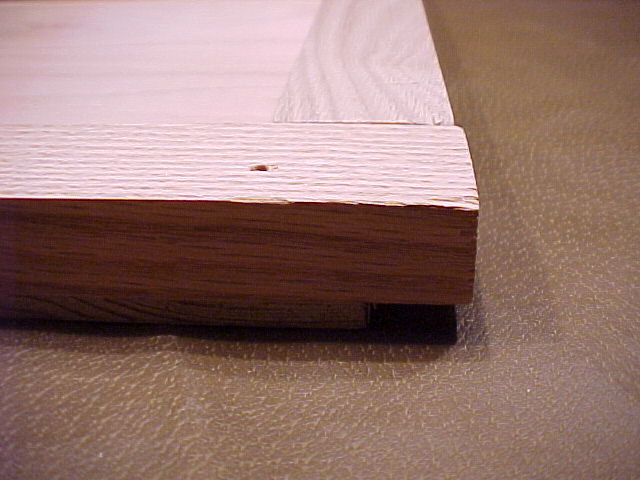
Here's a finished door...
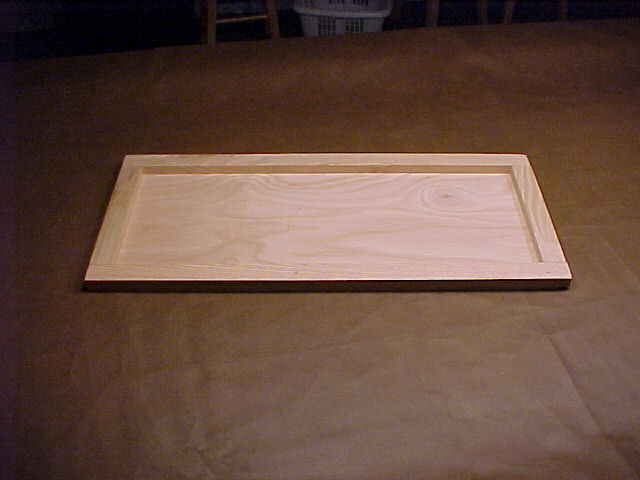
Notice that the trim overlaps the panel on the top and the side facing the center of the canopy (and there's a good sized hole that needs to be filled prior to staining):
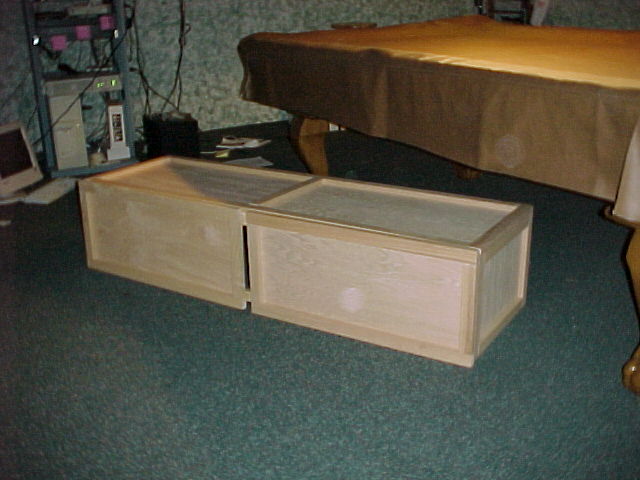
Here's an almost finished model (trimmed the rest of the canopy and the doors are sitting in place... the center isn't there, it hasn't been stained and there are no hinges or knobbers yet).
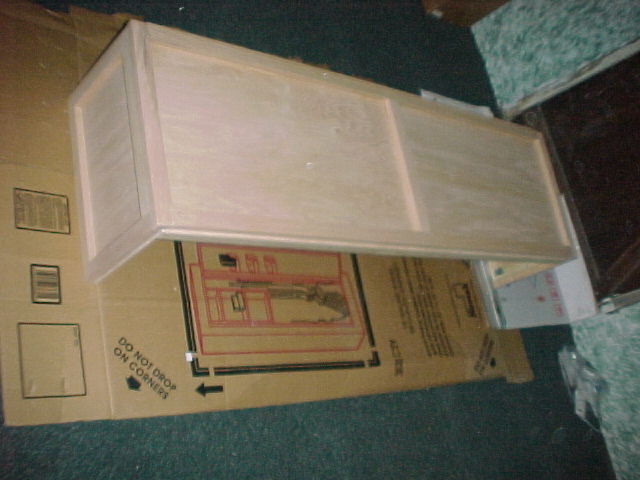
Here we are (Front and Back) of the unit sanded, wiped with a damp cloth and ready to be stained. Next time we see it it'll be a darker color... Notice the center piece on the front.
 |
 |
 |
 |
 |
 |
 |
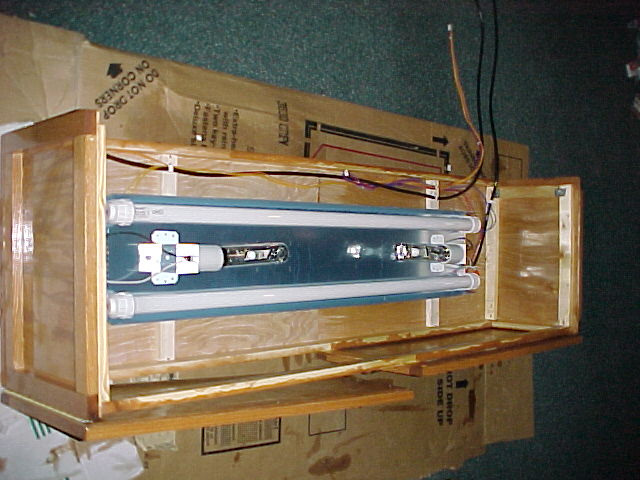
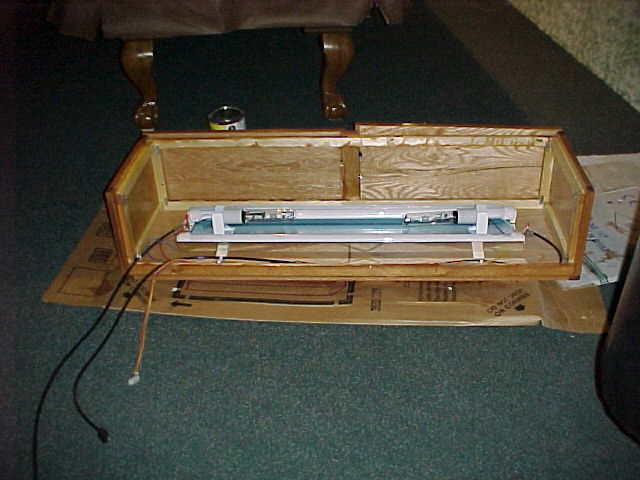
Last step was gluing on a couple of cross pieces to provide for airflow above the VHO reflector and fastening down the wires so they don't get in the way. Whew!
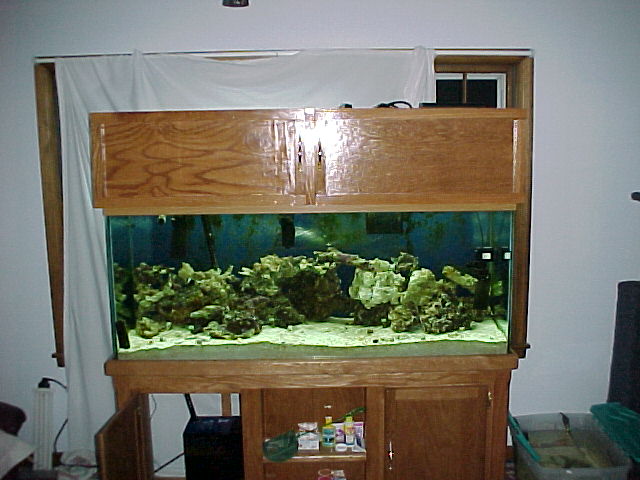
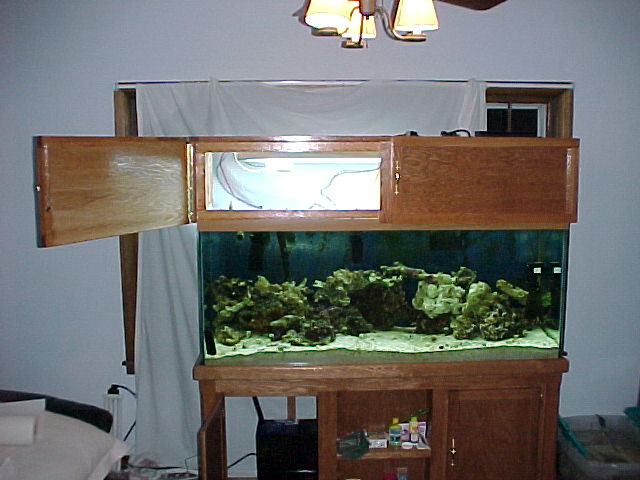
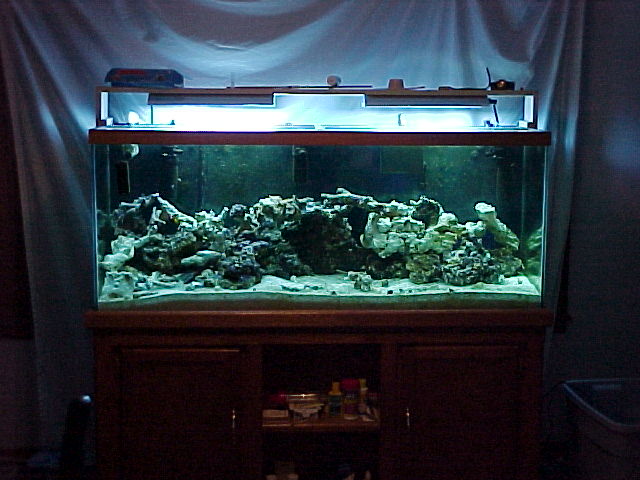
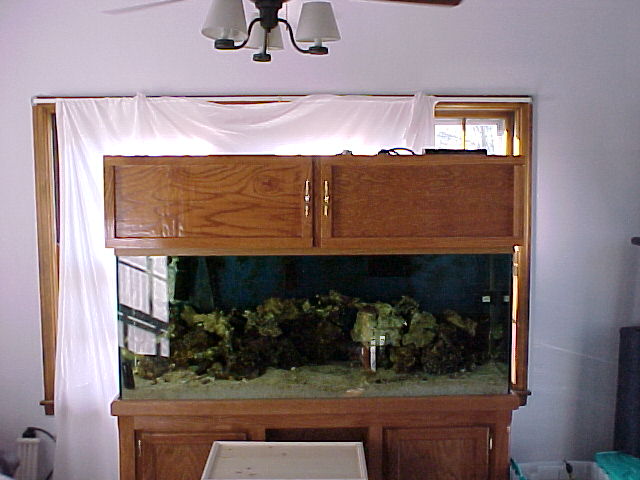
DONE!!! Here are before and after pictures. I rather think this is a vast improvement in appearances!
 |
 |
[NOTE: The back is open and there are air channels above the reflector, however heat may still become an issue. So I may mount a small fan on one side to pull hot air out... perhaps a second on the otherside pushing cooler air in... doubt that'll be necessary. A friend suggested putting mylar inside the doors and side panels to reduce lost photons.]